hCaptcha에 대한 설명은 다른 페이지에서 자세히 설명하고 있기 때문에 생략하고
적용하는 방법에 대해 설명하겠습니다.
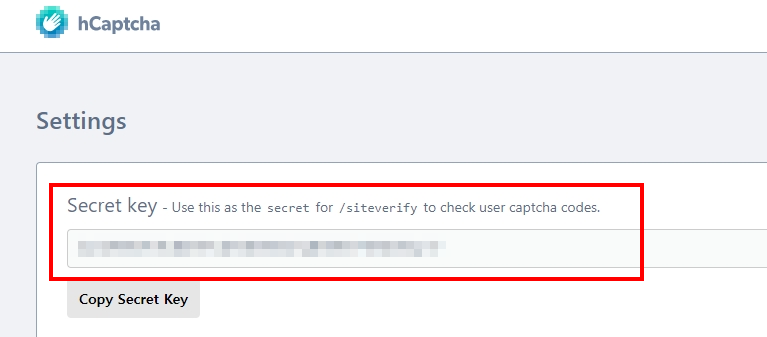
우선 https://dashboard.hcaptcha.com/ 에 회원가입을 하여 Site key와 Secret key를 확인합니다.


html에 스크립트와 hCaptcha가 노출될 부분에 코드를 삽입합니다.
<script src="https://hcaptcha.com/1/api.js" async defer></script>

<div class="h-captcha" data-sitekey="사이트키"></div>
(옵션 값 확인 : https://docs.hcaptcha.com/configuration#hcaptcha-container-configuration )
그럼 아래와 같이 hCaptcha가 노출이 됩니다.


사용자가 캡챠를 성공적으로 통과를 하면 숨겨져 있는 "h-captcha-response"에 값이 추가됩니다.
만약 아래와 같이 Warning: localhost detected. Please use a valid host. 란 오류가 발생한다면 hCaptcha가 localhost와 127.0.0.1을 지원하지 않기 때문입니다. https://docs.hcaptcha.com/#local-development

C:\Windows\System32\drivers\etc 경로의 hosts에 테스트용 도메인을 추가해주세요.

설정 후 http://{테스트용 도메인}:{port}/{url} 경로로 실행하면 캡챠가 정상적으로 노출됩니다.
아래는 해당 요청 값으로 서버에서 POST 요청을 하여 캡챠 응답을 확인하는 방법입니다.
final String captchaResponse = request.getParameter("h-captcha-response");

StringBuilder sb = new StringBuilder();
sb.append("response=");
sb.append(captchaResponse);
sb.append("&secret=");
sb.append(secretKey);

HttpHeaders header = new HttpHeaders();
header.setContentType(MediaType.APPLICATION_FORM_URLENCODED);
ResponseEntity<String> res = restTemplate.postForEntity("https://hcaptcha.com/siteverify", new HttpEntity<>(sb.toString(), header), String.class);

log.debug("http response status: " + res.getStatusCode().name());
log.debug("body: " + res.getBody());
응답 값은 오류가 발생하고 200으로 리턴됩니다.
{
   "success": true|false,     // is the passcode valid, and does it meet security criteria you specified, e.g. sitekey?
   "challenge_ts": timestamp, // timestamp of the challenge (ISO format yyyy-MM-dd'T'HH:mm:ssZZ)
   "hostname": string,        // the hostname of the site where the challenge was solved
   "credit": true|false,      // optional: whether the response will be credited
   "error-codes": [...]       // optional: any error codes
   "score": float,            // ENTERPRISE feature: a score denoting malicious activity.
   "score_reason": [...]      // ENTERPRISE feature: reason(s) for score.
}
(에러코드 확인 : https://docs.hcaptcha.com/#siteverify-error-codes-table )
성공일 경우 응답
{
  "success":true,
  "challenge_ts":"2022-03-21 19:21:20.0",
  "hostname":"localhost"
}
실패일 경우 응답
{
  "success":false,
  "error-codes":["missing-input-secret"]
}
[Reference]
'etc. > info' 카테고리의 다른 글
| Jenkins에서 여러 Maven, JDK 버전 사용하는 방법 (0) | 2024.05.09 |
|---|---|
| ChatGPT - 대화형 인공지능 챗봇 (0) | 2023.01.21 |
| PuTTY Connection Manager 회색 창이 열리면서 서버에 연결이 안될 때 (0) | 2021.12.21 |
| RFC 표준 이메일 정규표현식 (0) | 2021.04.07 |
| URL 대소문자 구분에 관한 RFC 표준 (0) | 2021.02.23 |
댓글