spring.io 가이드를 참조하여 WebFlux 실습을 해보겠습니다.
개념은 이전 포스팅에서 대충 끄적인 걸로 대체하겠습니다.
목표
Spring Webflux 및 해당 서비스의 WebClient consumer로 RESTful 웹 서비스를 구축
환경
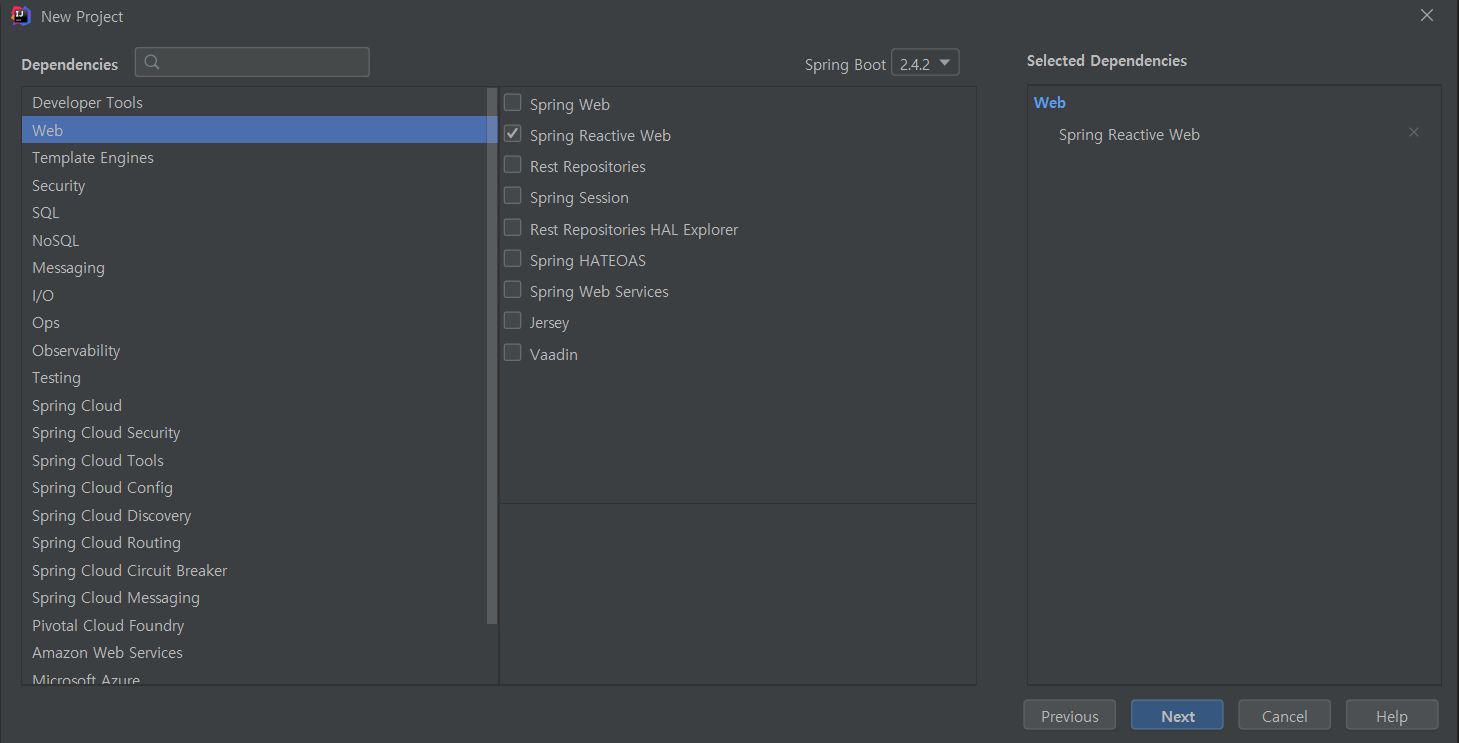
- Spring Boot 2.4.2 (spring 5 이상)
- Maven
- IntelliJ
- openjdk 11
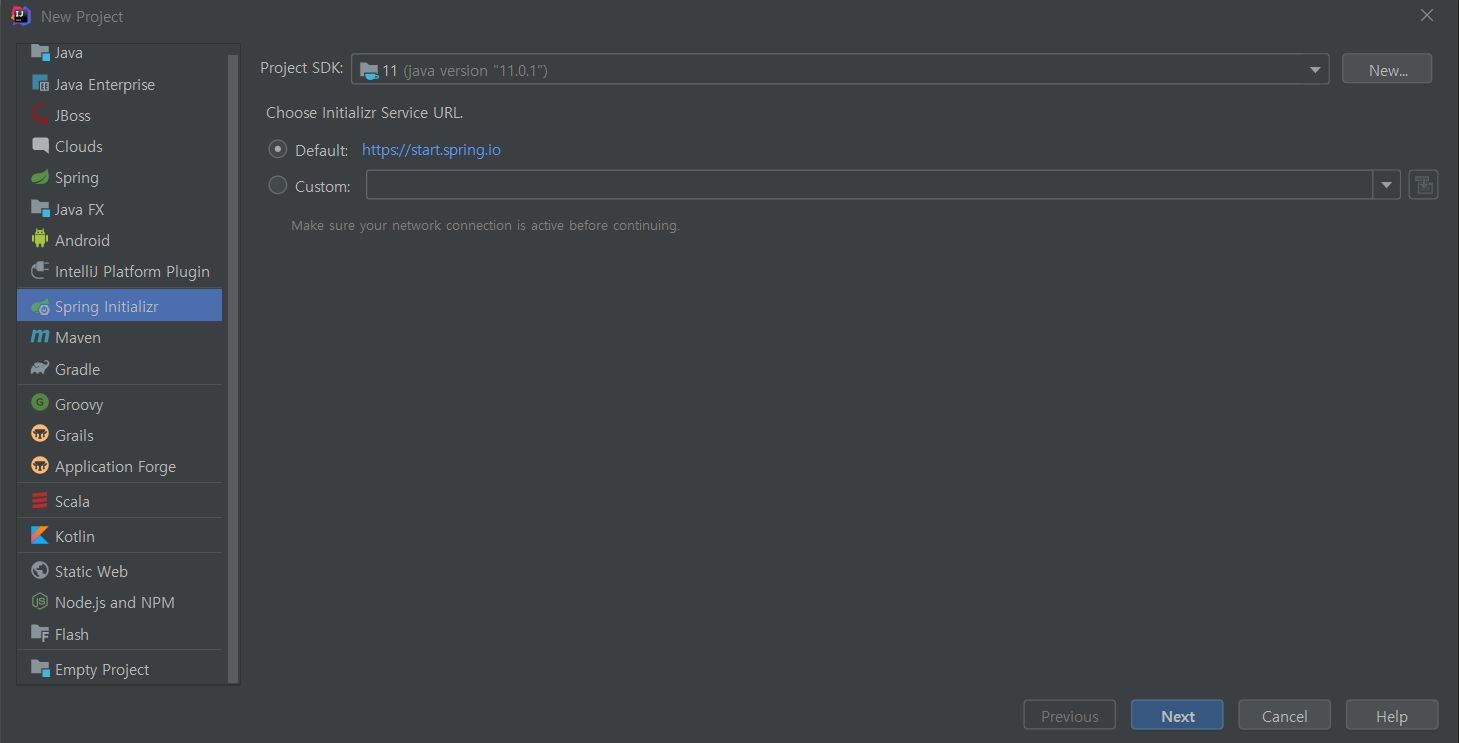
프로젝트 생성
우선 WebFlux 프로젝트를 생성합니다.


최초 생성 시의 pom.xml 내용입니다.
<?xml version="1.0" encoding="UTF-8"?>
<project xmlns="http://maven.apache.org/POM/4.0.0" xmlns:xsi="http://www.w3.org/2001/XMLSchema-instance"
         xsi:schemaLocation="http://maven.apache.org/POM/4.0.0 https://maven.apache.org/xsd/maven-4.0.0.xsd">
    <modelVersion>4.0.0</modelVersion>
    <parent>
        <groupId>org.springframework.boot</groupId>
        <artifactId>spring-boot-starter-parent</artifactId>
        <version>2.4.2</version>
        <relativePath/> <!-- lookup parent from repository -->
    </parent>
    <groupId>com.moonsiri</groupId>
    <artifactId>reactive</artifactId>
    <version>0.0.1-SNAPSHOT</version>
    <name>reactive</name>
    <description>Reactive RESTful Web Service</description>
    <properties>
        <java.version>11</java.version>
    </properties>
    <dependencies>
        <dependency>
            <groupId>org.springframework.boot</groupId>
            <artifactId>spring-boot-starter-webflux</artifactId>
        </dependency>

        <dependency>
            <groupId>org.springframework.boot</groupId>
            <artifactId>spring-boot-starter-test</artifactId>
            <scope>test</scope>
        </dependency>
        <dependency>
            <groupId>io.projectreactor</groupId>
            <artifactId>reactor-test</artifactId>
            <scope>test</scope>
        </dependency>
    </dependencies>

    <build>
        <plugins>
            <plugin>
                <groupId>org.springframework.boot</groupId>
                <artifactId>spring-boot-maven-plugin</artifactId>
            </plugin>
        </plugins>
    </build>

</project>
WebFlux Handler 생성
Spring Reactive 접근은 아래 예제와 같이 handler를 사용하여 요청을 처리하고 응답을 생성합니다.
package com.moonsiri.reactive.greeting;

import org.springframework.http.MediaType;
import org.springframework.stereotype.Component;
import org.springframework.web.reactive.function.BodyInserters;
import org.springframework.web.reactive.function.server.ServerRequest;
import org.springframework.web.reactive.function.server.ServerResponse;
import reactor.core.publisher.Mono;

@Component
public class GreetingHandler {

    public Mono<ServerResponse> hello(ServerRequest request) {
        return ServerResponse.ok().contentType(MediaType.TEXT_PLAIN)
                .body(BodyInserters.fromValue("Hello, Spring!"));
    }
}
이 간단한 reactive 클래스는 항상 "Hello, Spring!"을 리턴합니다. 데이터베이스 items의 stream, 계산으로 생성된 items의 스트림 등을 포함하여 다른 많은 items를 리턴할 수 있습니다.
여기서 집중해야할 부분은 ServerResponse body를 hold 하는 Mono 객체입니다.
Router 생성
이 애플리케이션에서는 router를 사용하여 노출하는 유일한 경로 "/hello"를 처리하겠습니다.
package com.moonsiri.reactive.greeting;

import org.springframework.context.annotation.Bean;
import org.springframework.context.annotation.Configuration;
import org.springframework.http.MediaType;
import org.springframework.web.reactive.function.server.RequestPredicates;
import org.springframework.web.reactive.function.server.RouterFunction;
import org.springframework.web.reactive.function.server.RouterFunctions;
import org.springframework.web.reactive.function.server.ServerResponse;

@Configuration
public class GreetingRouter {

    @Bean
    public RouterFunction<ServerResponse> route(GreetingHandler greetingHandler) {
        return RouterFunctions
            .route(RequestPredicates.GET("/hello").and(RequestPredicates.accept(MediaType.TEXT_PLAIN)), greetingHandler::hello);
    }
}
router가 "/hello" 경로에서 트래픽을 수신하고 reactive handler 클래스에서 제공한 값을 리턴합니다.
WebClient 생성
Spring MVC RestTemplate 클래스는 본질적으로 블로킹입니다. 따라서 reactive 애플리케이션에는 사용하지 않겠습니다.
reactive 애플리케이션의 경우 Spring은 논블로킹 WebClient 클래스를 제공합니다.
package com.moonsiri.reactive.greeting;

import org.springframework.http.MediaType;
import org.springframework.web.reactive.function.client.ClientResponse;
import org.springframework.web.reactive.function.client.WebClient;
import reactor.core.publisher.Mono;

public class GreetingWebClient {

    private WebClient client = WebClient.create("http://localhost:8080");

    private Mono<ClientResponse> result = client.get().uri("/hello").accept(MediaType.TEXT_PLAIN).exchange();

    public String getResult() {
        return ">> result = " + result.flatMap(res -> res.bodyToMono(String.class)).block();
    }

}
WebClient 클래스는 Mono 형식의 reactive 기능을 사용하여 지정한 URI의 콘텐츠를 보유하고 (getResult() 메소드의) 함수를 사용하여 해당 content를 (여기서는) 문자열로 변환합니다.
WebClient를 사용하면 non-reactive 블로킹 서비스와도 통신할 수 있습니다.
Application 실행
이 서비스를 외부 애플리케이션 서버에 배포하기 위해 기존 war 파일로 패키징 할 수 있지만, Java main() 메서드에 의해 구동되는 단일로 실행 가능한 jar 파일에 패키징 하는 것이 더 간단하면서 독립형 애플리케이션을 만듭니다.
그 과정에서 외부 인스턴스에 배포하는 대신 Netty 서버를 Http 런타임으로 포함하는 Reactive Spring을 사용합니다.
package com.moonsiri.reactive;

import com.moonsiri.reactive.greeting.GreetingWebClient;
import org.springframework.boot.SpringApplication;
import org.springframework.boot.autoconfigure.SpringBootApplication;

@SpringBootApplication
public class ReactiveApplication {

    public static void main(String[] args) {
        SpringApplication.run(ReactiveApplication.class, args);

        // greeting
        GreetingWebClient gwc = new GreetingWebClient();
        System.out.println(gwc.getResult());
    }

}
@SpringBootApplication는 아래 내용을 모두 포함합니다.
- @Configuration
- @EnableAutoConfiguration
- @ComponetScan
main() 메서드는 Spring Boot의 SpringApplication.run() 메서드를 사용하여 애플리케이션을 시작합니다.
Did you notice that there was not a single line of XML? There is no web.xml file, either. This web application is 100% pure Java and you did not have to deal with configuring any plumbing or infrastructure.
JAR 빌드
java -jar target/reactive-0.0.1-SNAPSHOT.jar
maven clean, install 후 위 명령어를 실행했더니 자바 11로 클래스를 컴파일하고 자바 8로 실행을 하려고해서 오류가 발생하였습니다.

자바 환경을 맞추고 (자바 8로 컴파일하든 자바11로 실행을 하든 하여 해결) 다시 실행해봅니다.

>> result = Hello, Spring!

That line comes from the reactive content being consumed by the WebClient. Naturally, you can find something more interesting to do with your output than put it in System.out.
Test the Application
WebTestClient 클래스로 테스트를 해보겠습니다.
package com.moonsiri.reactive.greeting;

import org.junit.jupiter.api.Test;
import org.junit.jupiter.api.extension.ExtendWith;
import org.springframework.boot.test.context.SpringBootTest;
import org.springframework.http.MediaType;
import org.springframework.test.context.junit.jupiter.SpringExtension;
import org.springframework.test.web.reactive.server.WebTestClient;

import javax.annotation.Resource;

@ExtendWith(SpringExtension.class)
@SpringBootTest(webEnvironment = SpringBootTest.WebEnvironment.RANDOM_PORT)
class GreetingRouterTest {

    @Resource
    WebTestClient webTestClient;

    @Test
    void testHello() {
        webTestClient
            // Create a GET request to test an endpoint
            .get().uri("/hello")
            .accept(MediaType.TEXT_PLAIN).exchange()
            // and use the dedicated DSL to test assertions against the response
            .expectStatus().isOk()
            .expectBody(String.class).isEqualTo("Hello, Spring!");
    }
}
이렇게 실습이 끝났습니다. 다른 실습을 더 해봐야 할 것 같네요 ㅎㅎ
[Reference]
spring.io/guides/gs/reactive-rest-service/
github.com/moonsiri/spring-framework/tree/master/reactive-rest-service
'spring > spring webFlux' 카테고리의 다른 글
| [WebFlux] Mono에 담긴 List를 하나로 합치기 (0) | 2023.07.13 |
|---|---|
| [Spring] WebMVC에서 WebFlux 사용 (with WebClient) (0) | 2023.07.13 |
| [webFlux] SwitchIfEmpty가 항상 호출되는 이슈 해결 (Lazy Evaluation) (0) | 2022.12.20 |
| [Spring] Reactive Programming (1) - Reactor 3, WebFlux (0) | 2021.02.18 |
댓글